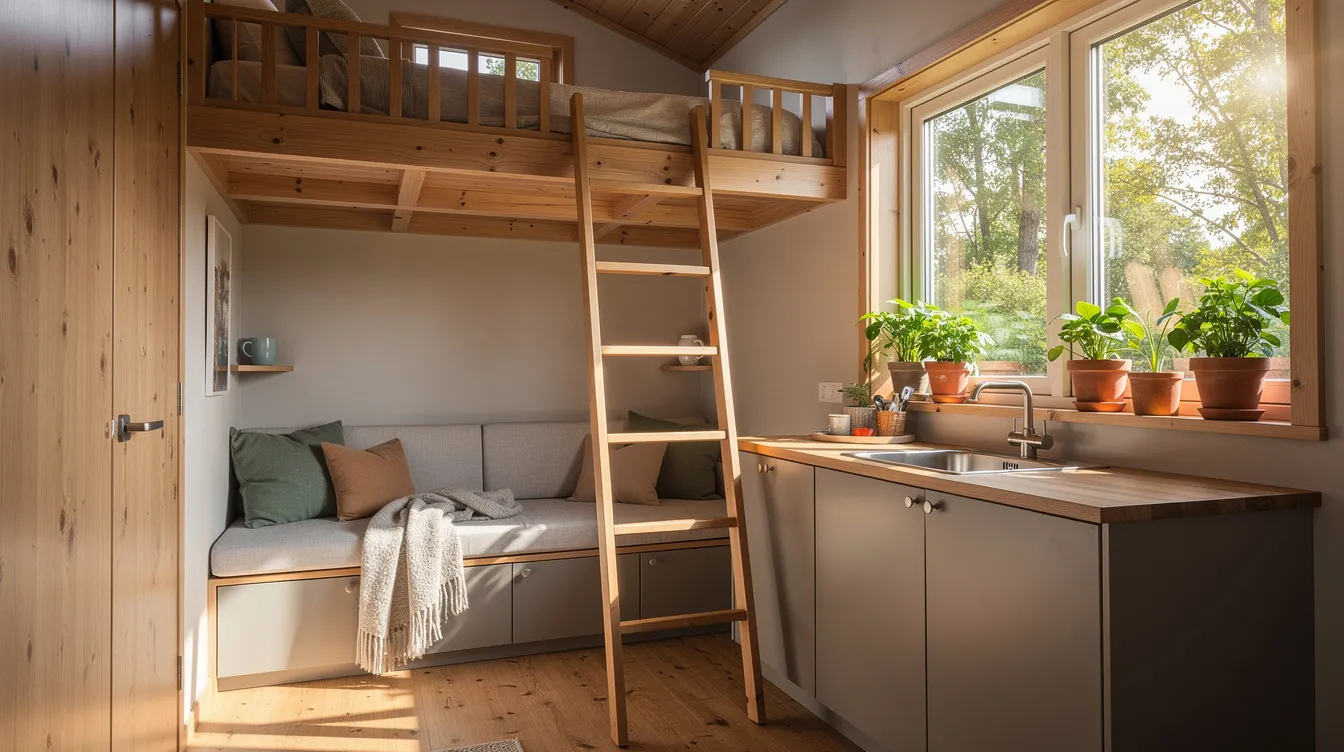
Draw a House Layout for Your Tiny Home in One Weekend (Without Hiring an Architect)
A floor plan is a scaled diagram showing room arrangements - and when your entire home fits inside 400 square feet, every inch of that diagram determines whether you'll love living there or feel trapped. This guide walks you through the complete process of drawing a house layout for your tiny home, from rough sketch to furnished 3D walkthrough, in a single weekend.
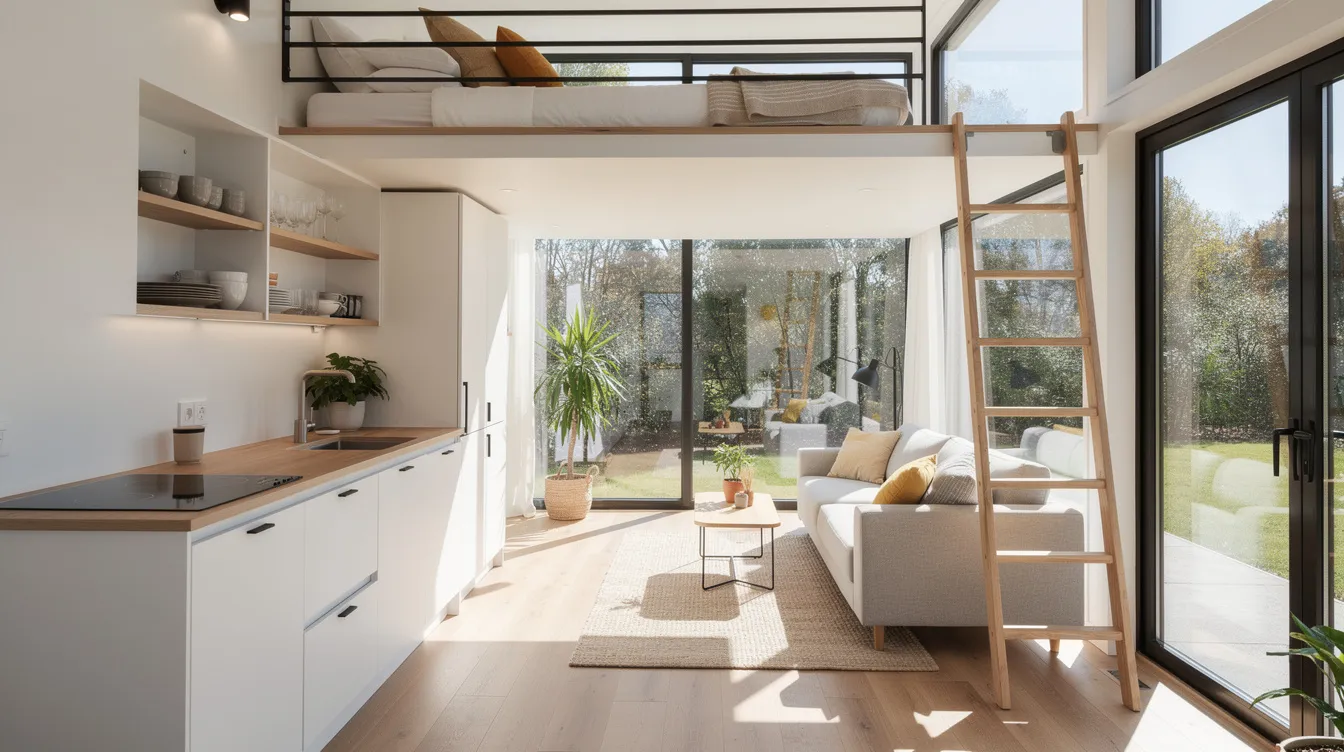
Finally, a Simple Way to Draw a House Layout Built for Tiny-Home Owners
If you've tried to create floor plans using generic software, you already know the frustration. Standard design tools assume you're working with 1,500+ square feet, full-sized appliances, and conventional room proportions. They weren't made for the tight constraints of a tiny house on wheels, a backyard ADU, or a micro-cabin under 600 sq ft.
In compact houses, floor plan design isn't decorative - it's structural. A sofa placed four inches too deep blocks your only hallway. A loft ceiling two inches too low means you can't sit up in bed. A bathroom door that swings inward steals the only space where your knees fit. These aren't minor annoyances. They're layout failures that cost thousands to fix once framing begins.
TinyHome3DPlanner is a browser-based 3D tiny-house design tool built specifically for these constraints. Throughout this guide, you'll use it alongside manual sketching to draw plans that are accurate, space-efficient, and ready to share with builders. By Sunday evening, you'll have a fully furnished, to-scale layout you can walk through in 3D - without hiring an architect, learning CAD, or spending more than a weekend.
Why Drawing Your Own House Layout Matters (Especially for Tiny Homes)
In a standard home, a poorly placed closet is an inconvenience. In a 250-square-foot tiny house, it can eliminate your only viable spot for a work desk or block the circulation path between your kitchen and bathroom. Effective layouts separate private areas from public spaces - and in tiny living, those zones might be separated by nothing more than a curtain and 36 inches of floor. Every decision compounds.
Drawing your own layout before building forces you to confront trade-offs early, when changes cost nothing. It helps you clarify needs versus wants, communicate precisely with builders or DIY helpers, and avoid the expensive change orders that plague tiny-home builds. Floor plans help visualize space utilization effectively - and in spaces this small, visualization isn't optional. A functional house layout balances aesthetics with daily livability, and achieving that balance requires testing furniture arrangements, circulation paths, and storage solutions on paper before committing to lumber.
The stakes are higher because tiny homes operate under strict physical constraints that standard houses never face. A tiny house on wheels must typically stay under 8 feet 6 inches wide to travel legally without special permits. Height often caps around 13'6" from tire to roof peak. ADU zoning codes may limit total area to 400–800 square feet depending on your jurisdiction. Your layout must work within these non-negotiable boundaries - and the only way to know it does is to draw it first.
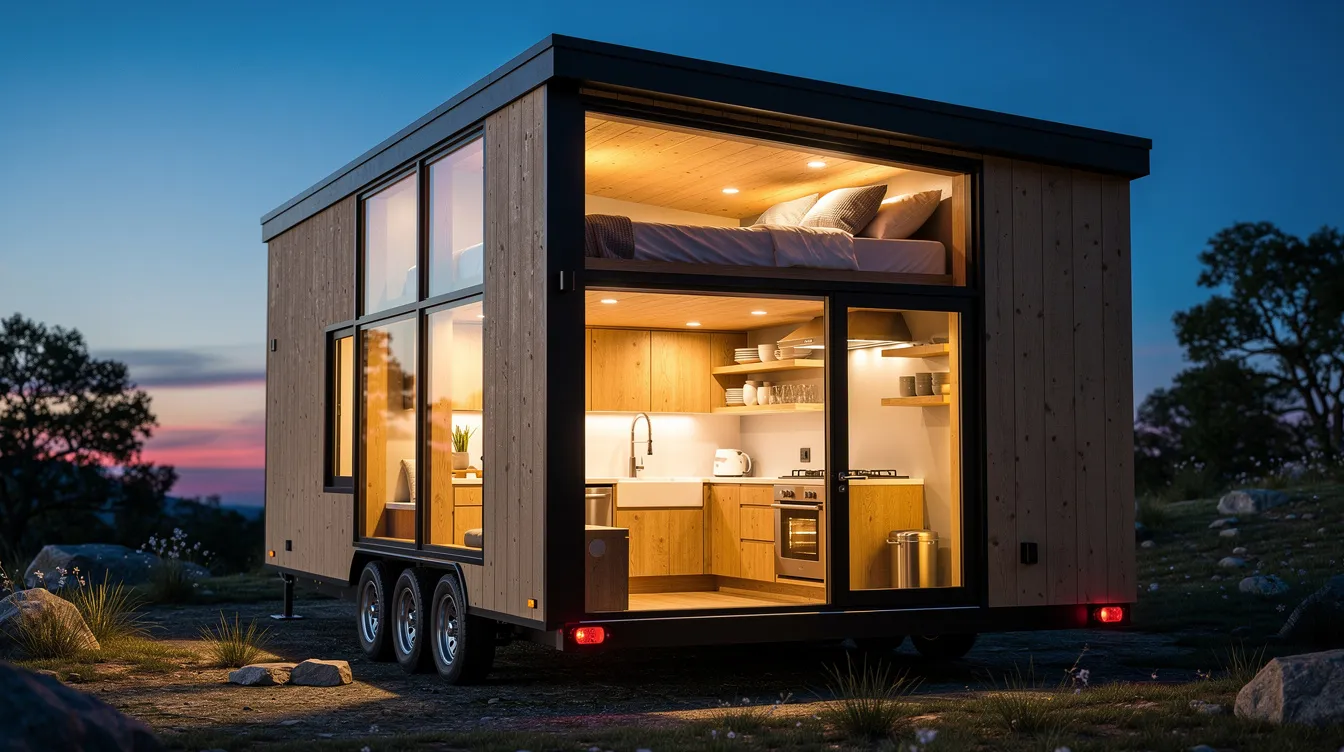
Why TinyHome3DPlanner Works for Drawing Tiny House Layouts
Generic floor plan creators like Planner 5D, Floorplanner, and RoomSketcher are powerful tools - RoomSketcher is used by over 10 million professionals worldwide - but they're built for conventional homes. Their furniture libraries default to full-sized pieces, their room templates start at bedroom dimensions of 12 to 14 feet on one side, and they don't flag when your layout violates trailer width limits or loft headroom minimums. TinyHome3DPlanner was designed from the ground up for spaces where standard assumptions break down.
Core Benefits for Tiny-Home Designers
- Snap-to-scale 2D floor plan view tuned for small footprints - whether you're laying out a 16-foot trailer, a 24-foot THOW, or a 20' × 24' backyard ADU slab. Set metric and imperial units to match your local building codes.
- Pre-built tiny-house modules including sleeping lofts, alternating-tread stairs, convertible sofas, fold-down desks, and murphy beds - the kind of space-saving elements that generic tools simply don't include.
- Instant 3D walkthrough and dollhouse view that reveals cramped circulation, head-bump zones under lofts, and door swing conflicts impossible to spot in flat floor plans.
- Real-time area calculations that keep you under zoning square footage caps or trailer dimension limits, updating as you adjust interior walls and partitions.
- Drag and drop tiny appliances - 18" dishwashers, 24" cooktops, compact fridges, combo washer-dryers - from a curated catalog of items that actually fit in tiny homes.
- Simple browser interface requiring no CAD skills, no software installation, and no learning curve. Start your first project in just a few clicks.
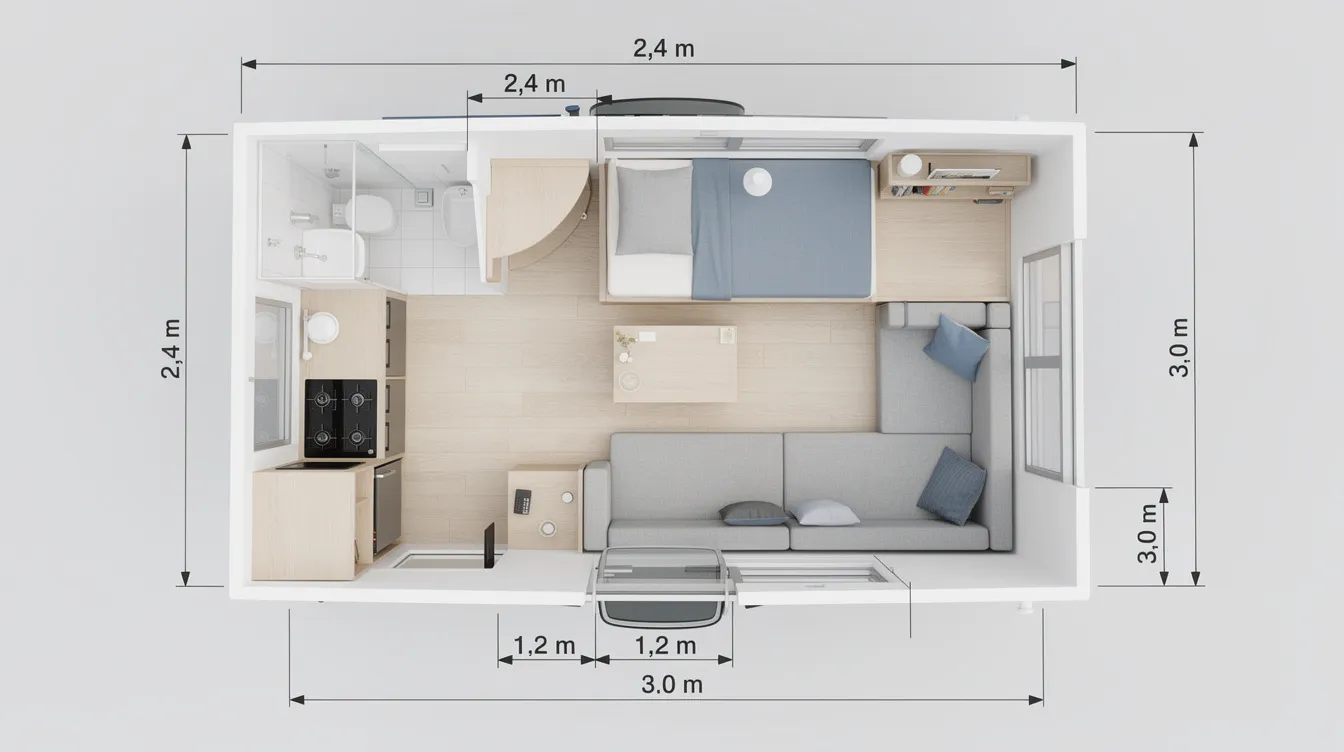
How to Draw a Tiny House Layout: Step-by-Step
The process breaks into three phases: rough sketch on paper, digital 2D layout, and detailed 3D refinement. A motivated DIYer can complete a strong first draft in one weekend - Saturday for constraints, must-haves, and sketching; Sunday for digital layout, furnishing, and 3D walkthrough. Refinements may continue over the following weeks, but you'll have a layout solid enough to share with builders by Sunday evening.
Step 1: Define Your Tiny Home Footprint and Constraints
Every tiny house layout begins with constraints you cannot change. Before you draw a single line, establish these fixed boundaries.
Choose your base footprint. Common options include:
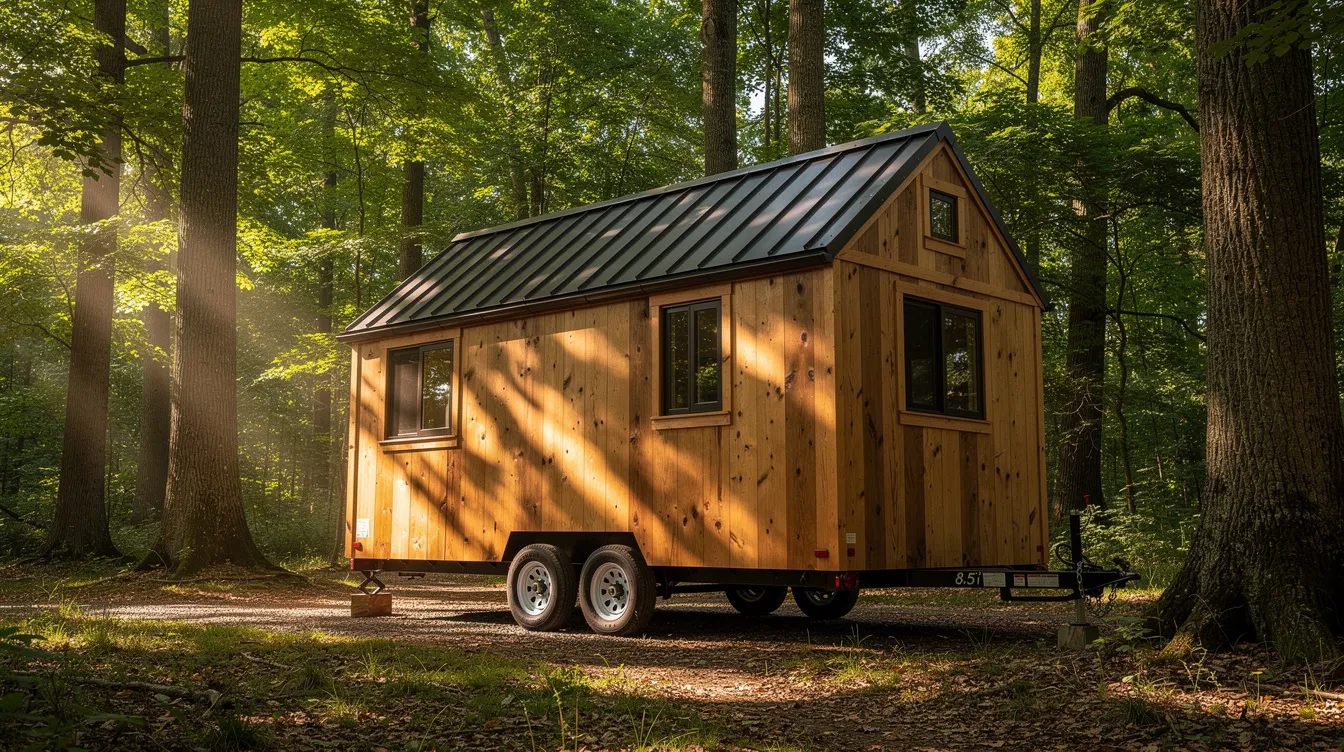
- 8.5' × 24' trailer - the most popular THOW size, offering roughly 200 sq ft of main floor plus loft space
- 8.5' × 30' trailer - more room for dedicated bedroom or larger kitchen, but check state towing permits (Tennessee, for example, requires permits when exceeding 60' total length)
- 10' × 30' park model - not road-legal as a towable but offers roughly 300 sq ft of comfortable layout space
- 20' × 24' ADU slab - a backyard accessory dwelling with 480 sq ft, often the sweet spot for zoning compliance
Know your legal limits. Road-legal width in the US is 8.5 feet. Maximum height is typically 13'6" to allow clearance under bridges and overpasses while leaving room for rooftop solar panels. Washington State requires THOWs to comply with NFPA 1192 and limits living area to 400 sq ft. Your local ADU ordinances may cap total area between 400 and 800 sq ft.
Consider site orientation. Natural light and ventilation should be prioritized in home design. Living rooms should ideally face southwest to capture evening light. Note where the sun rises and sets relative to your building site, which wall should hold the most glazing, and where neighboring structures or trees create privacy or shade concerns.
Step 2: List Your Must-Haves and Nice-to-Haves
The most common reason tiny-home layouts fail isn't bad design - it's misaligned expectations. A couple who both work remotely needs two desk areas. A family with a toddler needs a sleeping nook that's safe without a ladder. An off-grid traveler needs space for a battery bank and water heater that a weekend-cabin owner doesn't. Homes should be organized into three primary zones: public, private, and service - and in a tiny home, you need to decide exactly how much space each zone gets.
Use this checklist to define your priorities:
- Sleeping: Loft queen / main-floor sofa bed / dedicated ground-level bedroom
- Cooking: Full oven / 2-burner cooktop / induction plate only
- Bathroom: Dry flush or composting toilet / traditional flush; 30" minimum vs 36" shower (800×800 mm is the bare minimum, but 900×900 mm feels substantially more comfortable)
- Work: Fold-down desk / built-in bench with laptop shelf / dedicated office nook
- Storage: Hanging clothes, pantry depth, seasonal gear, sports equipment
- Systems: Solar battery bank location, water heater placement, electrical panel, greywater exit
Distinguish clearly between non-negotiables and nice-to-haves. Sufficient built-in storage is essential for minimizing clutter, but a walk-in closet probably isn't realistic in 250 sq ft. Keep the list honest - it will drive every layout decision that follows.
Step 3: Rough Sketch Your Layout on Paper
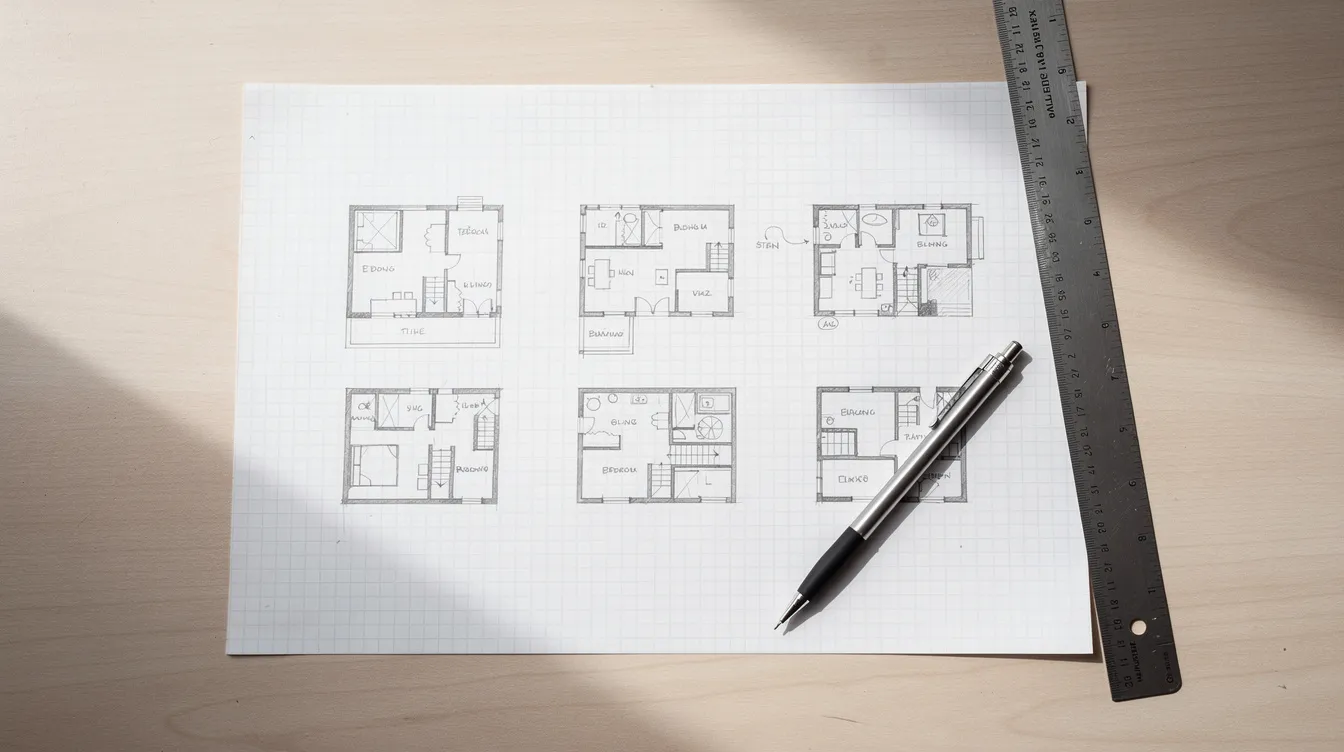
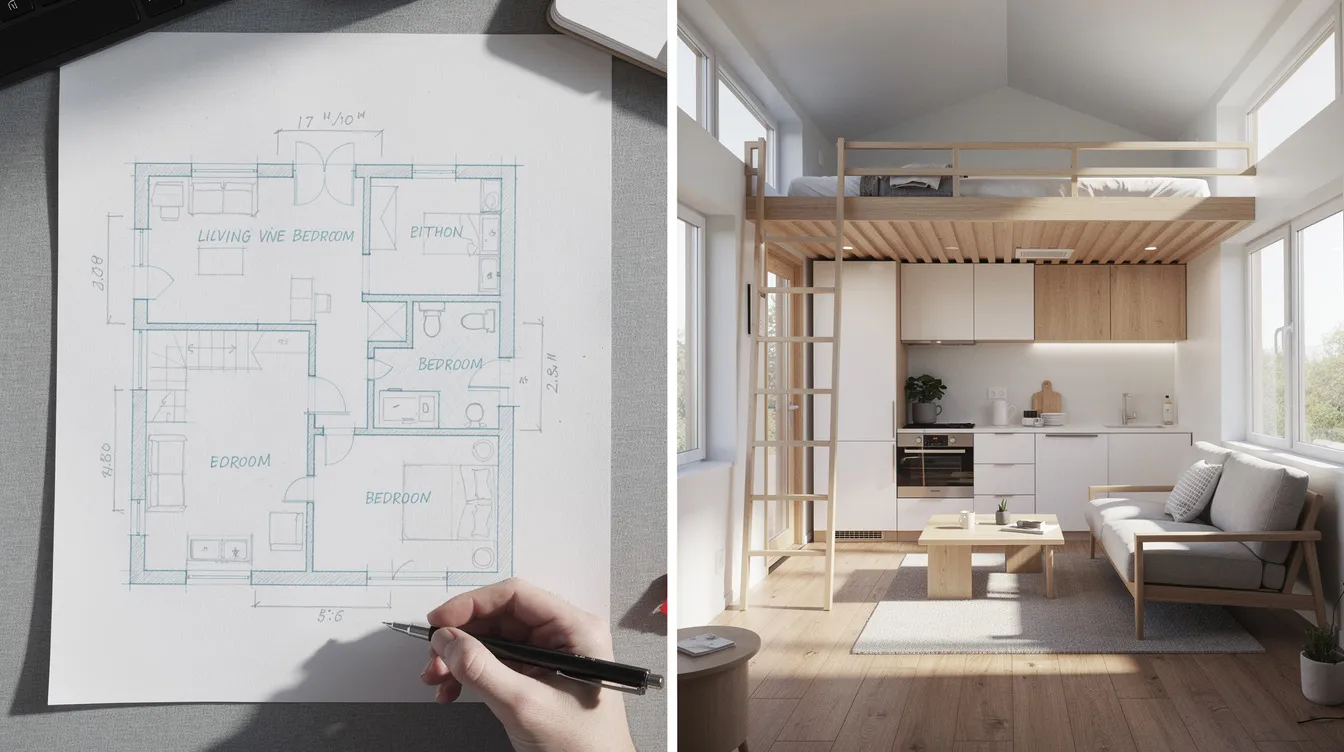
You don't need artistic skill for this step. You need graph paper, a pencil, and a ruler. That's the entire toolkit required to get your design ideas and ideas flowing onto a page.
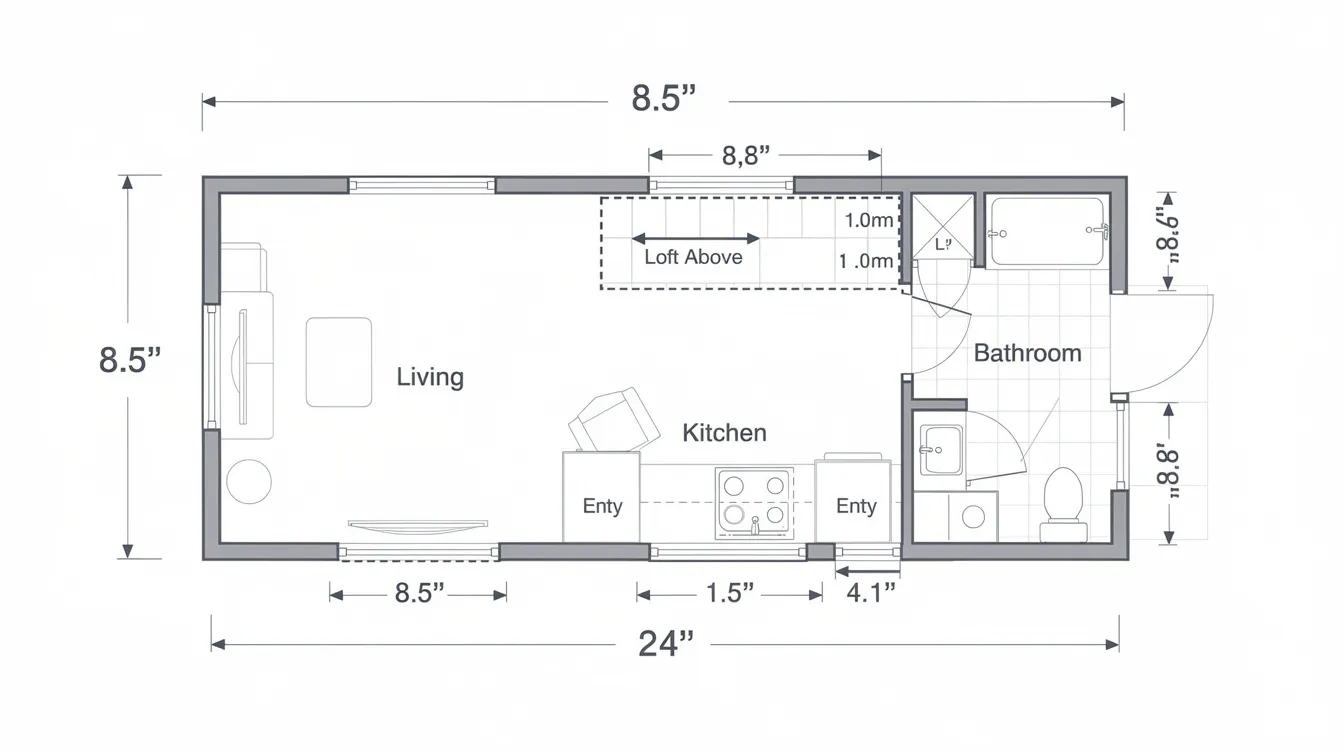
Draw an outer rectangle to scale. Select an appropriate scale to fit all elements on paper - for an 8.5' × 24' trailer, one square on graph paper can equal 6 inches, giving you a 17 × 48 square rectangle. Mark this clearly with total dimensions.
Mark fixed elements first. Entry door location, trailer wheel wells (if THOW), the plumbing wall where water supply and drain lines will run, and any large window positions dictated by structural framing or views. These are your anchors.
Block out functional zones as labeled boxes. Kitchen, bathroom, living area, sleeping loft footprint above, mechanical closet, storage zones. Don't worry about exact furniture yet - you're establishing the relationship between different areas.
Sketch multiple variations quickly. Try galley kitchen vs L-shaped. Test rear bathroom vs front bathroom. Compare side entry vs end entry door placement. Each variation reveals trade-offs: a rear bathroom gives the kitchen a view wall, but it puts plumbing far from the trailer tongue. Experiment with different layouts - three quick sketches in an hour teach more than one "perfect" sketch in four hours.
Check circulation paths. Clear pathways should be at least 36 inches to allow smooth movement. Leave at least 80 cm (32 inches) of clearance in front of doors. Excessively long hallways should be avoided to maximize usable space. In a tiny house, the hallway often is the room - so every inch matters.
Step 4: Take Key Measurements
Accurate measurements are essential for creating precise floor plans. In a conventional home, misplacing a wall by four inches is barely noticeable. In a tiny house, four inches can make stairs too steep to climb safely, a shower too narrow to turn around in, or a kitchen counter too shallow for a cutting board. Using a measuring tape or laser meter ensures accuracy - never estimate in tiny spaces.
Reference dimensions for tiny homes:
- Walkways: Minimum comfortable width 36 inches (900 mm); 24 inches acceptable only for brief pass-throughs
- Loft headroom: Minimum 36–42 inches above where your head rests while sitting in bed
- Stair treads: 8–10 inches deep, risers under 8 inches for safe daily use
- Kitchen work triangle: The kitchen work triangle should ideally measure between 13 and 26 feet total
- Door clearance: 80 cm clearance is recommended in front of doors for movement
- Dining chair clearance: Clearance space behind dining chairs should be between 36 and 42 inches
- Bed sizes: Queen mattress ~60" × 80"; Twin ~39" × 75"
- Compact appliances: 2-burner cooktop ~12" wide; compact fridge ~24" wide; single sink ~18" wide
Build a measurement table for every item you plan to include. Columns: item name, width, depth, height, and minimum clearance needed on each side. Incorrect measurements lead to unrealistic floor plan proportions - and in tiny homes, unrealistic proportions mean unusable spaces.
Step 5: Convert Your Sketch into a Digital 2D Layout
This is where your paper sketch becomes a precise, editable floor plan. Open TinyHome3DPlanner, create a free account, and start a new project.
Set up your project correctly:
- Choose your units - both metric and imperial units are supported, so match your local building codes and material specifications
- Enter exact footprint dimensions from your constraint research (e.g., 8'6" × 24' for a standard THOW)
- Begin by adding walls - draw external walls to precise lengths, confirming wall thickness matches your planned insulation and framing (typically 3.5"–5.5" for tiny homes)
- Add internal partitions for bathroom, closets, and storage nooks
- Place doors and windows in line with your paper sketch - pocket doors are particularly valuable in tiny homes since using pocket doors can maximize space in bathrooms and tight hallways
Frequently check the dimension tool as you work. Confirm that usable widths - not wall-to-wall measurements, but the actual space between finished surfaces - provide enough room for your planned furniture and circulation. Floor plans should include accurate dimensions for clarity at every stage.
While tools like SmartDraw include thousands of ready-made symbols for floor plans and Canva allows users to create floor plans on an infinite canvas, TinyHome3DPlanner's advantage is that its templates and element library are pre-scaled for tiny spaces. You're not resizing a standard bathtub to fit - you're starting with bathroom fixtures, appliances, and furniture that already match tiny-home proportions.
Step 6: Add Essential Tiny-House Elements
This is where your layout starts to feel like a real home rather than a collection of rectangles. You'll drop elements into the plan that define how the space actually functions day-to-day.
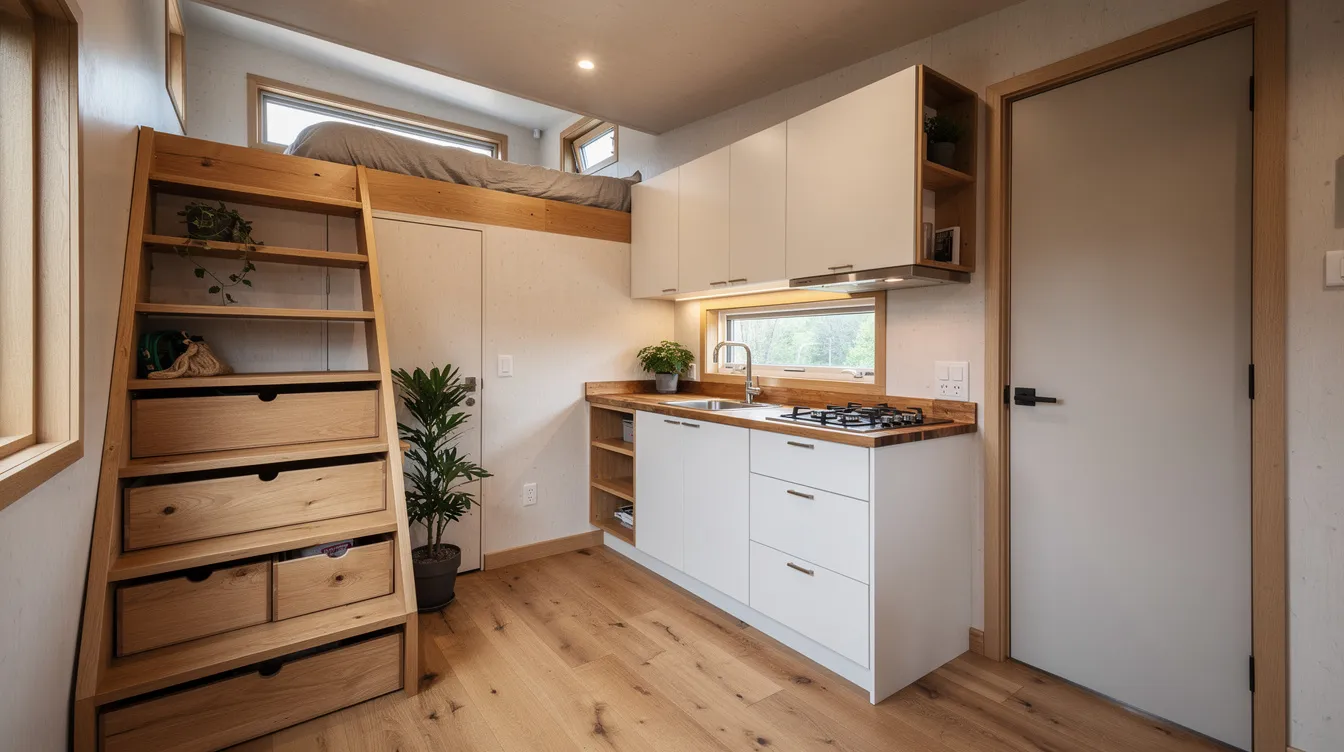
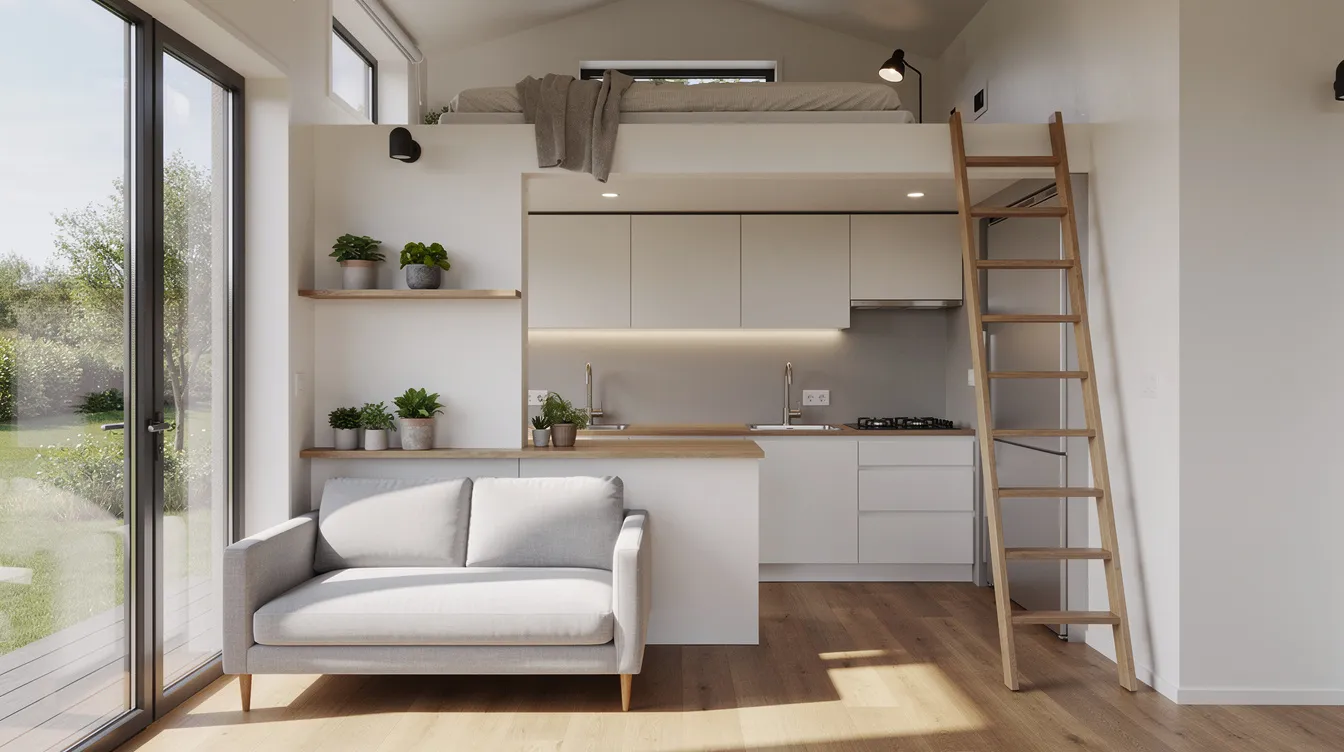
Lofts and stairs. Place your sleeping loft above the kitchen or bathroom - these rooms have the lowest ceiling height requirements, so they sacrifice the least headroom. Choose between a ladder (saves floor space but limits accessibility), alternating-tread stairs (compact but climbable), or full stairs with storage drawers built into each riser. Always verify headroom at the top of the loft - you need at least 36 inches above the mattress surface.
Kitchen run. Arrange fridge, sink, cooktop, and counter segments along one or two walls. Kitchens should offer easy access to dining areas for serving meals. Plan for toe-kick storage beneath cabinets and overhead cabinets that reach the ceiling - vertical space is premium real estate in tiny homes. In a 220–400 sq ft home, essential furniture typically occupies 15–25% of total floor area, so every cabinet must earn its place.
Bathroom layout. Bedrooms should ideally be positioned away from noisy areas, and the same logic applies to bathrooms - the primary bedroom often includes an en-suite bathroom for privacy, but in tiny homes, bathrooms should be centrally located between sleeping and living zones for practical access. Place the shower in a corner, choose your toilet type (composting models save significant plumbing complexity), and fit a compact vanity or wall-mounted sink.
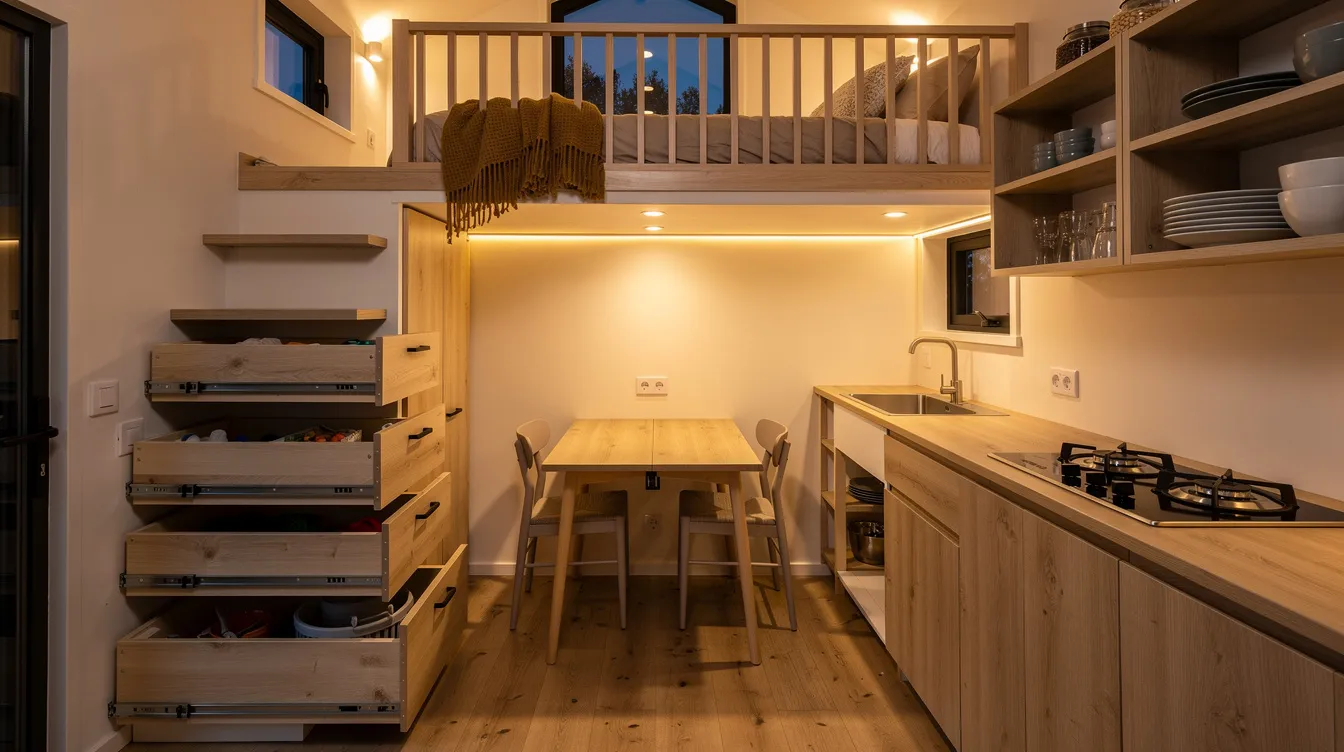
Storage everywhere. Under-stair drawers, toe-kick pull-outs, overhead cabinets, built-in benches with lift-up lids, and wall-mounted shelving. TinyHome3DPlanner's catalog includes these tiny-specific items alongside narrow cabinets, all-in-one washer-dryers, and fold-down desks that won't appear in generic design tools.
Step 7: Furnish and Test the Layout in 3D
Two-dimensional floor plans lie. They can't show you that your loft ceiling will hit your forehead when you sit up, that the afternoon sun will blind you at your desk, or that the kitchen feels like a dark tunnel despite looking fine on paper. 3D visualization reveals these problems before they become expensive realities.
Add furniture to your layout. Place the sofa, dining stools or fold-down table, bed or mattress in the loft, and desk if you work remotely. Use drag-and-drop tools to place furniture accurately - experiment with different furniture arrangements for functionality until circulation feels natural. Furniture placement helps visualize space utilization in ways that empty floor plans cannot.
Test multi-use and folding pieces. Murphy beds, convertible sofas, flip-up breakfast bars, and nesting tables are tiny-home staples. In TinyHome3DPlanner, you can toggle these between open and closed states to verify that enough room exists in both configurations.
Walk the space. Use TinyHome3DPlanner's 3D walkthrough mode to move through the home at eye level. Check for door swing conflicts, bumping into the ladder when walking to the bathroom at night, and corners where two pieces of furniture create a bottleneck. HomeByMe enables 3D visualization of home layouts too, but TinyHome3DPlanner's walkthrough is calibrated for the compressed sightlines and low ceilings unique to tiny homes.
Generate camera viewpoints from the entry door, from inside the loft looking down, and from the kitchen looking toward the living area. These perspectives reveal whether the space feels open and livable or cramped and oppressive.
Step 8: Refine for Storage, Light, and Flow
This is your optimization pass - the finishing touches that transform a workable layout into one that feels genuinely good to live in.
Windows and light. Tweak window sizes and positions to bring daylight to work surfaces, reading nooks, and kitchen counters. Natural light and ventilation should be prioritized in home design - in tiny spaces, a single well-placed window can make a room feel twice its size. Consider where morning sun hits (ideal for kitchen or bedroom) versus evening light (ideal for living areas).
Storage audit. Walk through your belongings mentally - clothing, kitchen tools, cleaning supplies, outdoor gear, documents, toiletries - and verify that every major category has a defined home in the layout. If something doesn't have a place, it will end up on the floor or the counter.
Flow check. Trace the path from front door to kitchen, from kitchen to bathroom, from bathroom to bed. None of these should require sideways shuffling or moving furniture. Balance visual weight across the space - avoid one wall packed floor-to-ceiling with cabinets while the opposite sits bare.
Save multiple variants. Keep different layouts as separate projects inside TinyHome3DPlanner - "Loft Bed v1," "Main-Floor Bed v2," "L-Kitchen Option" - so you can compare them side by side before committing. Browse mood boards for inspiration on material finishes and color palettes that make your chosen layout feel cohesive.
What Makes TinyHome3DPlanner Different for Drawing House Layouts
SmartDraw's AI generates editable floor plans from natural language prompts. Canva offers customizable floor plan templates for easy design. RoomSketcher is trusted by over 10 million users globally. These are capable tools - but none of them were designed for the specific challenges of tiny-home layout planning. Here's where TinyHome3DPlanner separates itself.
Tiny-Home-First Design Library
The catalog is curated exclusively for small spaces. You won't scroll past king-sized beds and double-wide refrigerators to find what you need:
- Space-saving furniture: Wall beds, sofa beds, storage stairs with built-in drawers, banquettes with under-seat compartments, fold-down desks, nesting dining tables
- Compact appliances: 24" ranges, counter-depth fridges under 25" wide, combo laundry units, two-burner induction cooktops, apartment-sized dishwashers
- Micro-bath fixtures: Corner sinks, 30" and 32" shower bases, compact elongated toilets, composting toilet models, wall-mounted vanities at 18" depth
Swap between variants with just a few clicks to test which combination of elements creates the most efficient layout for your footprint.
True-to-Life 3D Visualization in Tiny Volumes
Accurate ceiling heights, loft floor thickness, and window head heights are simulated precisely in 3D. This matters enormously in tiny homes - the difference between a 10-foot and 12-foot ceiling below a loft can determine whether the living area feels like a cozy cabin or a cramped cave. Perspective views let you feel these differences before committing to a build.
The HDR-quality renders are detailed enough to share with builders, partners, zoning boards, or lenders who need to understand the finished space. They're not abstract wireframes - they're photorealistic images that communicate design intent clearly.
Made for DIYers, Not Just Architects
You don't need to be a professional to draw plans that are precise and buildable. TinyHome3DPlanner includes guided floor plan template options for standard tiny house sizes (16', 20', 24', 28'), contextual tips that flag when clearances are too tight, and pre-made layout starters you can customize rather than building from scratch.
In-app hints suggest safe stair dimensions, minimum clearances in front of appliances, and loft guardrail placement. It runs entirely in the browser - no installation, no downloads - with projects saved in the cloud for access from any computer or mobile device. Take your laptop to the building site, pull up your layout on a tablet, or review it on your phone during a lunch break.
Proof It Works: Tiny Layouts Our Users Have Drawn
Thousands of tiny-home enthusiasts have used TinyHome3DPlanner to draw a house layout before cutting a single board. Here's what that looks like in practice:
- Full-time couple on a 20' trailer: Designed two remote workstations - one fold-down desk in the living area, one built-in shelf-desk in the loft - within a 170 sq ft main floor. Tested three kitchen configurations before settling on an L-shaped layout that freed up a window wall for the primary workspace.
- Backyard ADU for aging parents: A homeowner planned a 400 sq ft accessible dwelling with zero-step entry, a 36" walk-in shower, and wider circulation paths. The 3D walkthrough revealed that the original bathroom door placement would have blocked wheelchair turning radius - caught and fixed before construction began.
- Solo builder upgrading from van life: Used TinyHome3DPlanner to compare three loft configurations - full-width rear loft, split loft with storage, and main-floor sleeping with overhead storage - on a 24' trailer. The side-by-side comparison made it clear that the split loft provided the best balance of headroom, storage, and living space below.
Who Should Use This Guide (and TinyHome3DPlanner) to Draw a House Layout?
This guide and tool are built for anyone designing a compact living space - not just experienced builders or professionals. If you're working with a small footprint and need to make every square foot count, this is for you.
- DIY builders tackling their first project - a tiny house on wheels, a shed conversion, or a garage-to-micro-apartment transformation
- Homeowners planning a backyard ADU or studio as rental income, guest suite, or home office
- Digital nomads designing a mobile tiny home with dedicated desk space, gear storage, and reliable off-grid systems integration
- Families creating a tiny house with a kid's sleeping nook, toy storage, and enough room for daily life without constant reorganization
- Downsizers testing whether life in 300–500 sq ft will actually work before committing financially - using an existing floor plan as a starting point or creating something entirely new
- Hosts building a compact rental or guest suite where privacy-focused layout, comfortable bathroom fixtures, and intuitive flow determine guest satisfaction
Pricing & Plans for Drawing Your Tiny House Layout in TinyHome3DPlanner
Choose the plan that matches where you are in your tiny-home journey.
Starter Plan – For First-Time Tiny Designers
Perfect for readers exploring the idea of tiny living and creating their first one or two layouts.
- Access to standard tiny house floor plan template options (16', 20', 24', 28' footprints)
- Basic 2D floor plan tools with intuitive tools for adding walls, doors and windows, and architectural elements
- Essential tiny furniture library - beds, compact kitchen items, bathroom fixtures
- Limited HD screenshots for sharing with partners or builders
- Priced for hobbyists - designed to be accessible at a reasonable cost
Builder Plan – For Serious Projects and ADUs
Targeted at those ready to build or submit permits for an ADU, a new home on a trailer, or a full-time tiny dwelling.
- Unlimited layouts and project versions - experiment with as many configurations as you need
- Full 3D walkthrough, sunlight simulation, and the complete tiny furniture and appliance catalog
- Exportable 2D plans with dimensions and room names suitable for contractors and fabrication shops
- Support for metric scales and imperial units to match any jurisdiction's requirements
- Available as monthly or annual subscription at mid-tier pricing
Pro Plan – For Tiny-Home Builders & Designers
Designed for professional tiny-house builders, ADU specialists, and interior design consultants managing client projects.
- Client project folders with shared viewing links for team collaboration
- Branded exports and unlimited photorealistic renders - create professional floor plans at production speed
- Priority support, onboarding assistance, and custom templates for repeating layout configurations
- Ability to manage multiple floors, complex loft structures, and electrical plans documentation
- Higher-tier pricing reflecting the ROI from faster design cycles and reduced revision rounds
Frequently Asked Questions About Drawing a Tiny House Layout
How long does it take to draw a complete tiny house layout?
Expect to spend 3–4 hours on your rough sketch and constraint research (Saturday morning and afternoon), then another 4–6 hours to digitize, add furniture, and refine in 3D (Sunday). A complete, presentable layout is realistic in one focused weekend. Refinements - swapping appliance models, testing different layouts for the kitchen, adjusting window placement - may continue over the following weeks as decisions evolve, but you'll have a solid working layout by Sunday evening.
Do I need design or technical skills to use TinyHome3DPlanner?
No prior CAD or interior design experience is needed. The platform uses drag and drop interaction, pre-built templates, and contextual guidance designed for beginners. Familiarity with basic measurements - knowing how to use a tape measure and read dimensions in feet/inches or meters - is helpful but not mandatory. If you can sketch on graph paper, you can use TinyHome3DPlanner.
Can I use these layouts for permits or to work with a builder?
TinyHome3DPlanner layouts are excellent for communicating design intent, room arrangements, and furniture arrangements to builders and contractors. Local permitting may still require stamped plans from a licensed professional - structural engineering, electrical plans, and plumbing schematics are typically beyond the scope of any layout tool. However, builders can work directly from the detailed, dimensioned plans you export to create construction drawings, saving significant back-and-forth.
What's the difference between a tiny house layout and a full architectural plan?
A layout - what you'll create with this guide - defines room arrangement, furniture placement, circulation flow, and the relationship between different areas of your home. It answers "what goes where and does it work?" Architectural plans add structural details (framing, load paths, foundations), mechanical systems (HVAC, plumbing runs, wiring), code compliance notes, and engineering specifications. TinyHome3DPlanner focuses on layout and interior planning, which then informs the formal construction documents a licensed professional would produce.
Can I redesign an existing tiny home or trailer in TinyHome3DPlanner?
Absolutely. Measure your existing space with a tape measure or laser meter, recreate the footprint in the tool, and test new layouts - moving the kitchen, adding a loft, reconfiguring storage, or converting a closet into an office nook. This is especially useful for renovating used tiny houses, upgrading an existing plan from a previous owner, or converting utility trailers and sheds into livable, code-compliant micro-dwellings.
Get Started: Draw Your Tiny House Layout This Weekend
You now have the complete process: define your constraints, list your must-haves, sketch on paper, take accurate measurements, digitize in 2D, furnish and test in 3D, and refine until the space fits your real life. A well-drawn layout isn't just a picture - it's insurance against costly mistakes, wasted materials, and the sinking feeling of realizing your dream home doesn't actually work for daily living.
Here's your weekend plan:
- Grab graph paper and list your non-negotiables today
- Create a free TinyHome3DPlanner account and choose a floor plan template that matches your footprint
- Build your first 2D layout Saturday, add furniture Sunday morning, and take a 3D walkthrough by Sunday afternoon
Your tiny home deserves a layout drawn with intention, tested in three dimensions, and refined until every square foot earns its place. Start drawing this weekend.